How this medical illustration of a woman with lung anatomy was created
Step 1: Reference photos
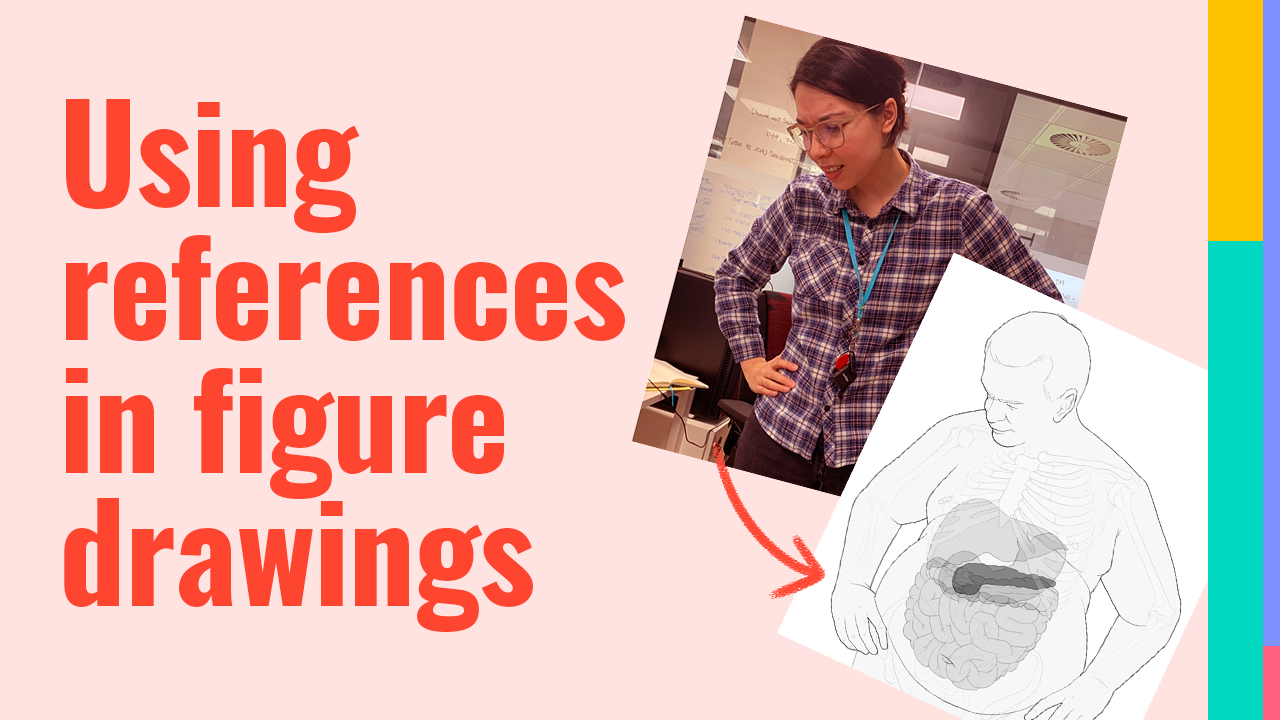
Whenever we’re creating an illustration that requires a specific view or pose, we always take reference photos. Most of the time it’s quicker to use ourselves as models as we can take multiple reference photos and Frankenstein a pose together. This really helps us with composition and proportions of our figure drawing and saves us a lot of time from finding reference images on the internet that adhere perfectly to what we need.
Taking reference photos as a method that American illustrator Normal Rockwell did for his work and we have taken inspiration from him. It’s a super useful and speedy method for our own productions.
Tutorial: using references in figure drawings
Step 2: Gather references
We can’t always design the characters of these figures based on ourselves. Because of this, our next steps are to source reference images that fit our model demographic. In this instance we needed to illustrate an older lady.
Here, we turn to the internet and stock sites to try and find photography of women that fit our demographic and we create a mood board full of references of her face for us to analyse and observe.
Step 3: Sketches & feedback
Once we’ve done all of the prep work, we dive into illustration sketches and build the figure. All the while we reference our base pose as well as the mood board we created.
This is then sent off for review and feedback notes are provided by the project’s art director. Most of the time we find it clearer to draw over the artist’s original work and write our feedback notes on top of the illustration.
This gives them a visual example of the direction we want them to move forward with. The artist can them implement these notes and polish everything to take it to the next level.
Step 4: Placing anatomy
Now it’s time for the hard work that makes us medical illustrators, the research part. We combine our anatomy knowledge and training to block out skeletal anatomy using topographical landmarks of the skin. Here our artist does extensive research on measurements of the rib cage and they heavily reference anatomy and dissection textbooks to find writtenevidence of measurements of these skeletal structures.
Our favourite anatomy books for this are any anatomy dissector. In our studio we use Clemente’s Anatomy Dissector.
Why can’t we reference other illustrations?
One of the key things about referencing in medical illustration is to reference written evidence or imaging datasets. We cannot reference other people’s illustrations because we have no idea what their referencing system is, we might risk copying anatomical mistakes, and we’d be putting ourselves in dicey copyright infringement territory.When drawing anatomy, the rib cage is a useful guide to help us place the internal thoracic anatomy, like the lungs in this instance. Organ placement in this area is so closely related to the levels of the ribs. Here, our artist Angela Young has done her research and sketched out the anatomy of the respiratory system.
She’s also added in labels and notes in her PSD file in case this file is ever opened up by another artist.
Step 5: Final image
Once we have a really solid figure and have done our research work with the anatomy, we can add in final colour to the illustration to create the final piece.
We hope you liked an insight into our process, it’s pretty similar for many medical illustrators,


